Your first transaction

This tutorial will guide you through setting up an Axone account, obtaining test tokens from the official faucet, and sending transactions with Keplr Wallet. This will enable you to participate in the Axone ecosystem, interact with the blockchain, and explore its capabilities. Let's get started!
Setting Up Keplr Wallet
Keplr is a popular and widely used wallet application designed specifically for interacting with Cosmos-based blockchains. It is a user-friendly interface allowing individuals to securely manage their accounts, interact with decentralized applications (DApps), and perform various transactions on Cosmos-based blockchains like OKP4.
-
Visit the Keplr Wallet website and download the desktop browser extension of your choice: Chrome or Firefox. For this tutorial, we'll install it on Brave (Chrome extension).
-
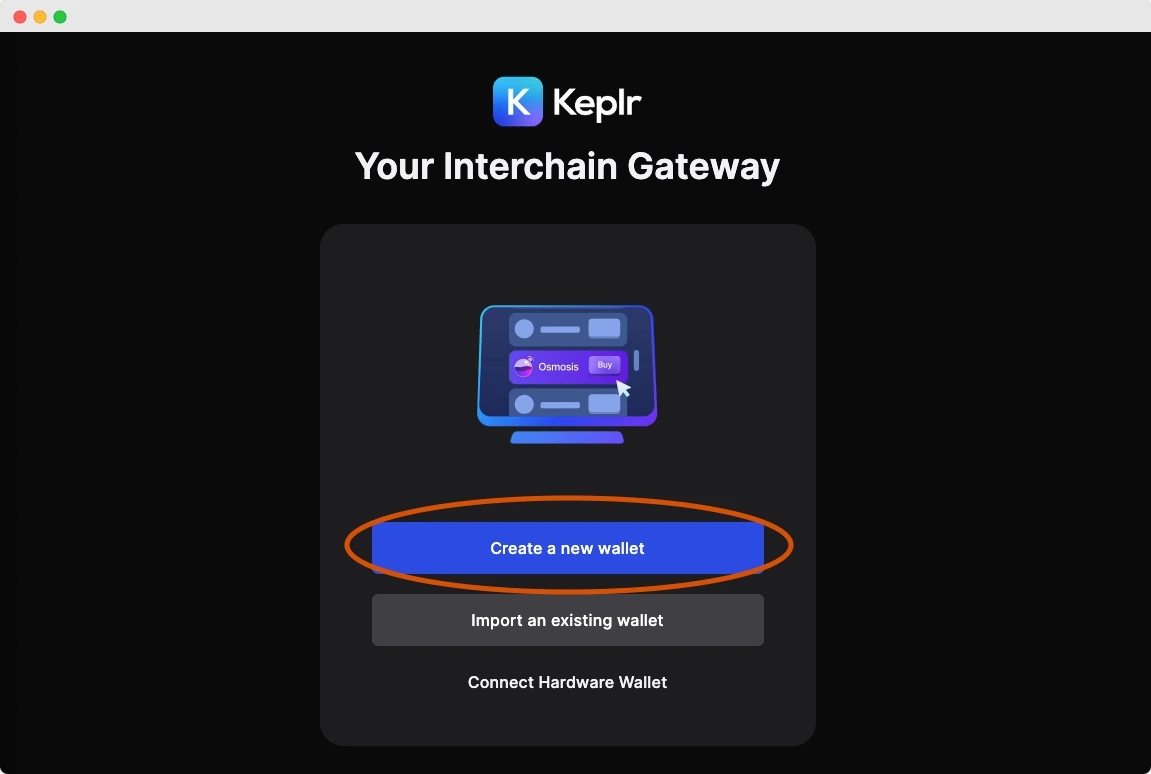
Click on the Keplr extension icon. A setup page opens. Click on "Create a new wallet".
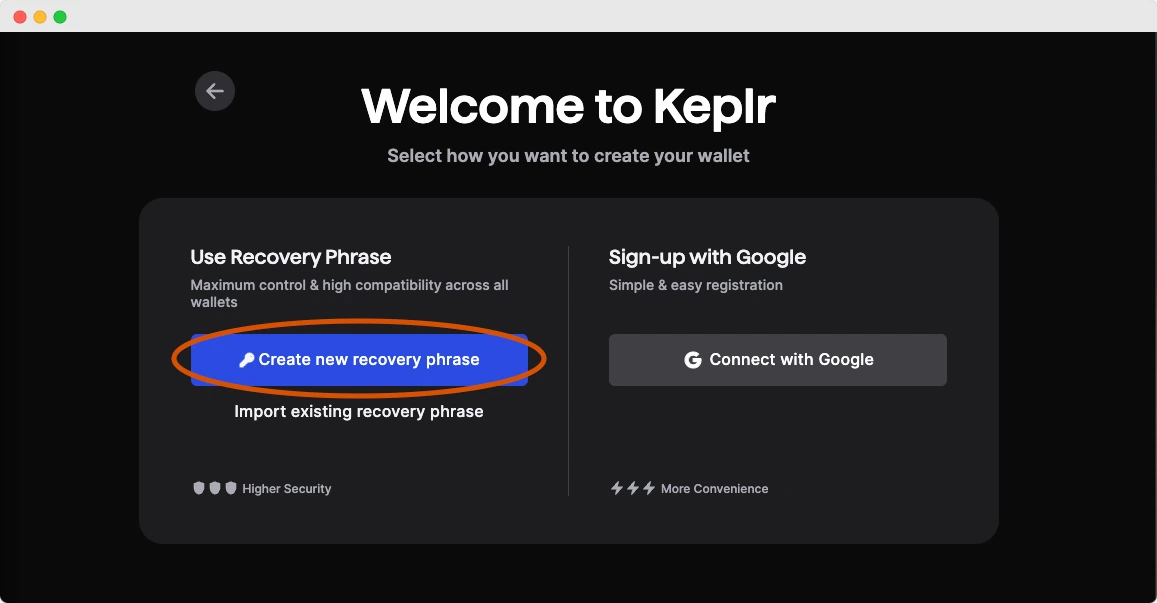
- We recommend you use a recovery phrase to control the wallet custody fully. Click on "Create new recovery phrase". Keplr will show you a list of words you must carefully back up. Prefer to write the recovery phrase on a piece of paper you safely store instead of an online solution.
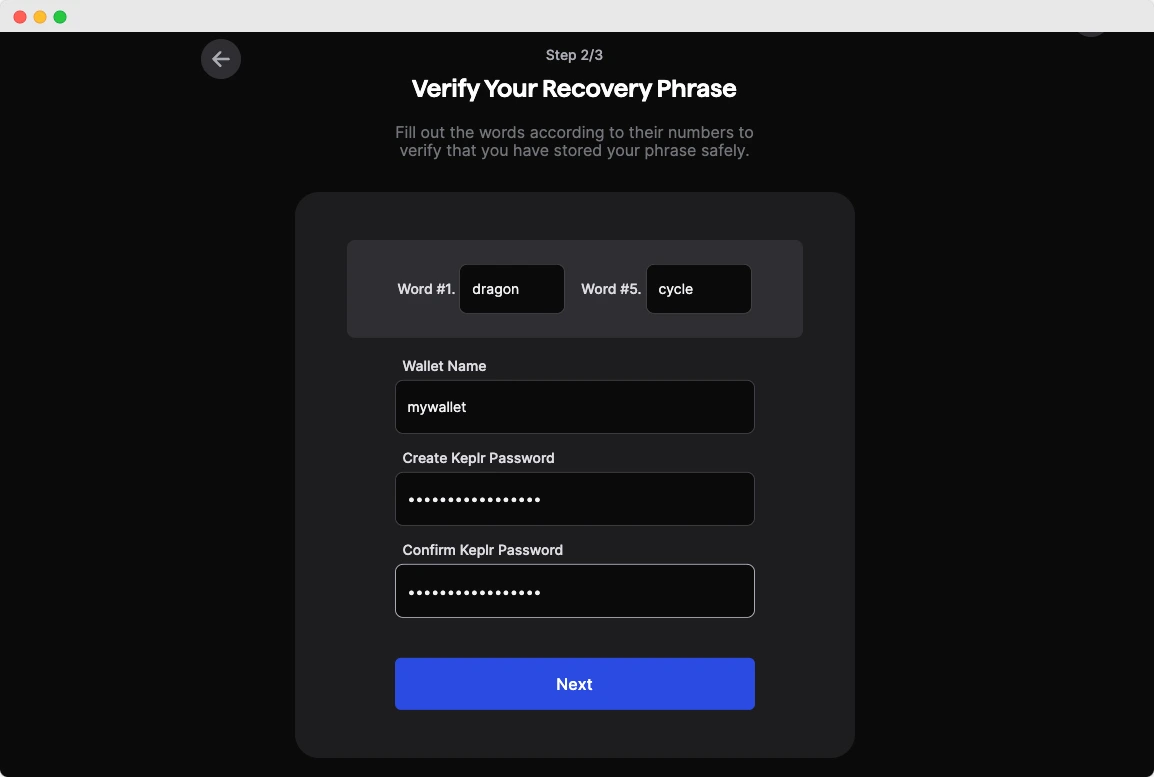
- Keplr checks you correctly stored your recovery phrase and asks you to provide one of the words.
Then provide a name for your wallet (you can type anything you want), and set a password to get access to your wallet. This password gives you access to your wallet, but if you lose it, you can recover your wallet with the recovery phrase.
-
Then Keplr asks you to select chains. Don't worry; select any chain you want.
-
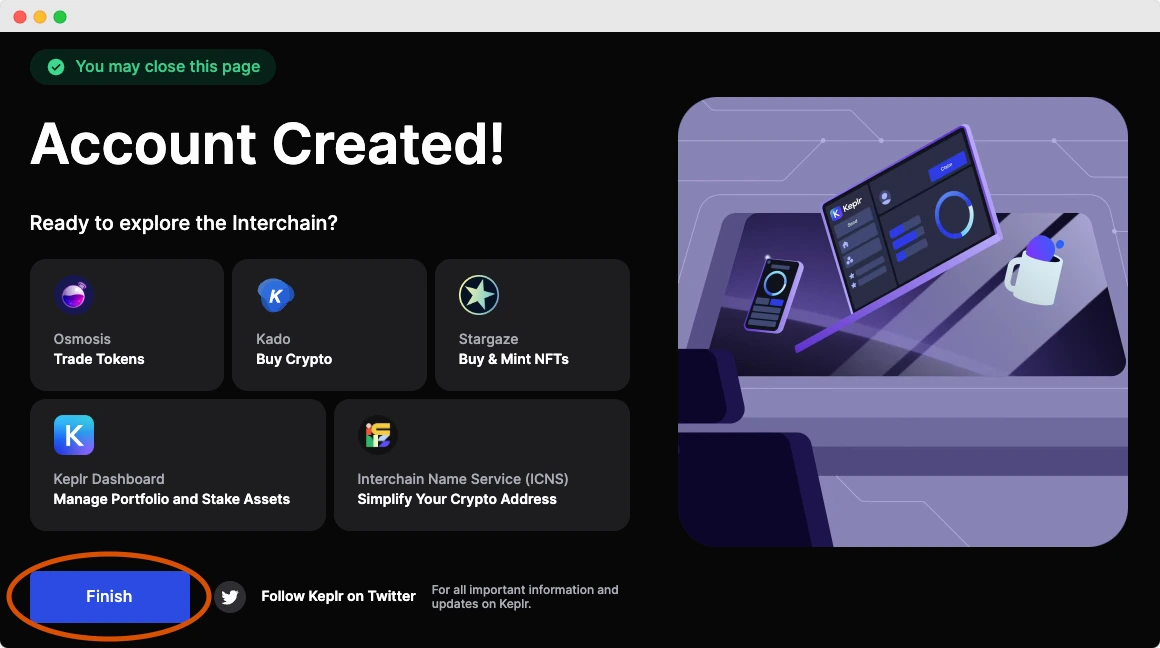
And you're done! Your account has been created. You can recover your wallet by following these steps but choosing "Import recovery phrase" in step 3. Optionally, you can pin Keplr for easy access: click the ‘Extensions' button, locate Keplr, and then click the ‘Pin'.
Add Axone network to Keplr and get $AXONE test tokens
AXON is the native token on the Axone blockchain. You need AXON tokens to interact with the Axone blockchain (i.e. send a payment or execute a smart contract query).
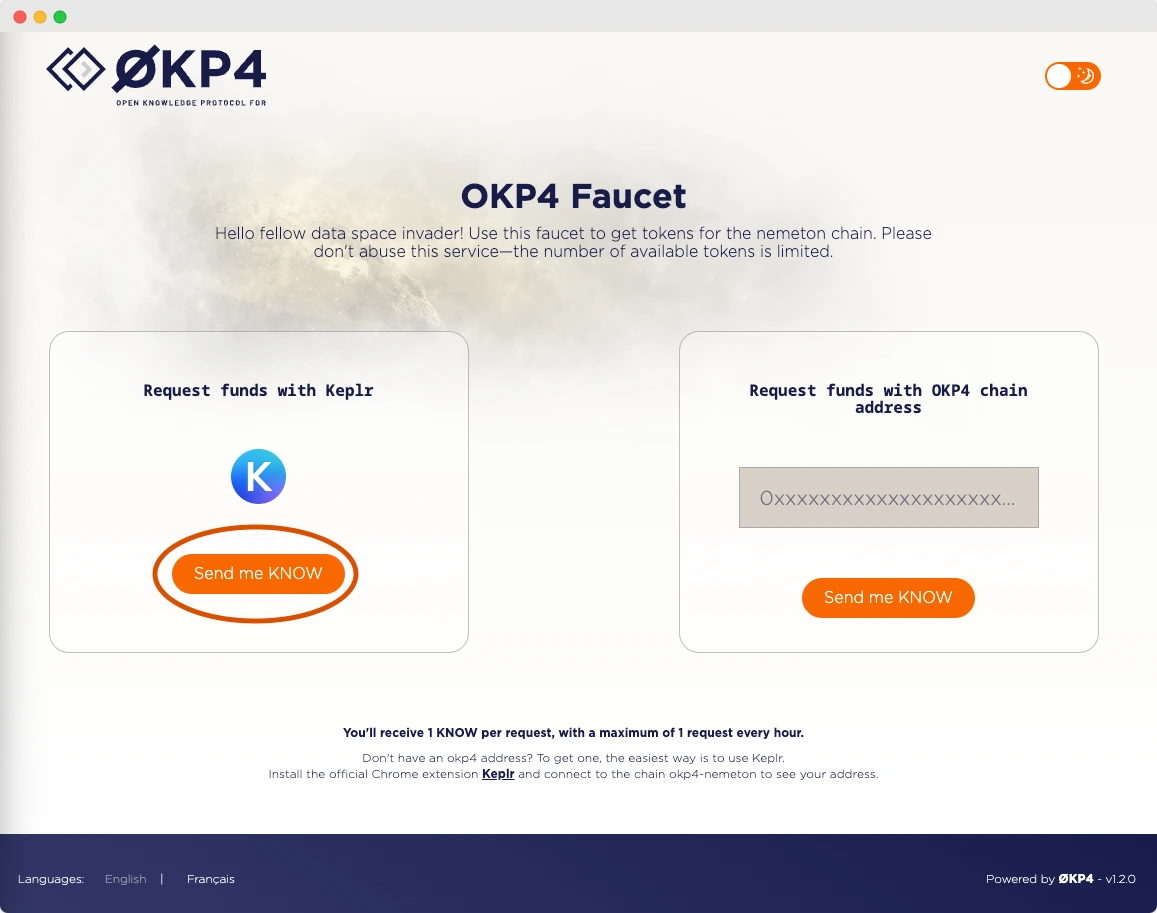
The official Axone faucet provides a way to obtain test tokens for experimentation and testing purposes. Here's how you can access the faucet:
-
Click on the "Send me AXON" button.
- You will have to pass the reCaptcha challenge, and then a Keplr pop-up will appear. Approve adding the
okp4-drunemeton-1chain to Keplr.
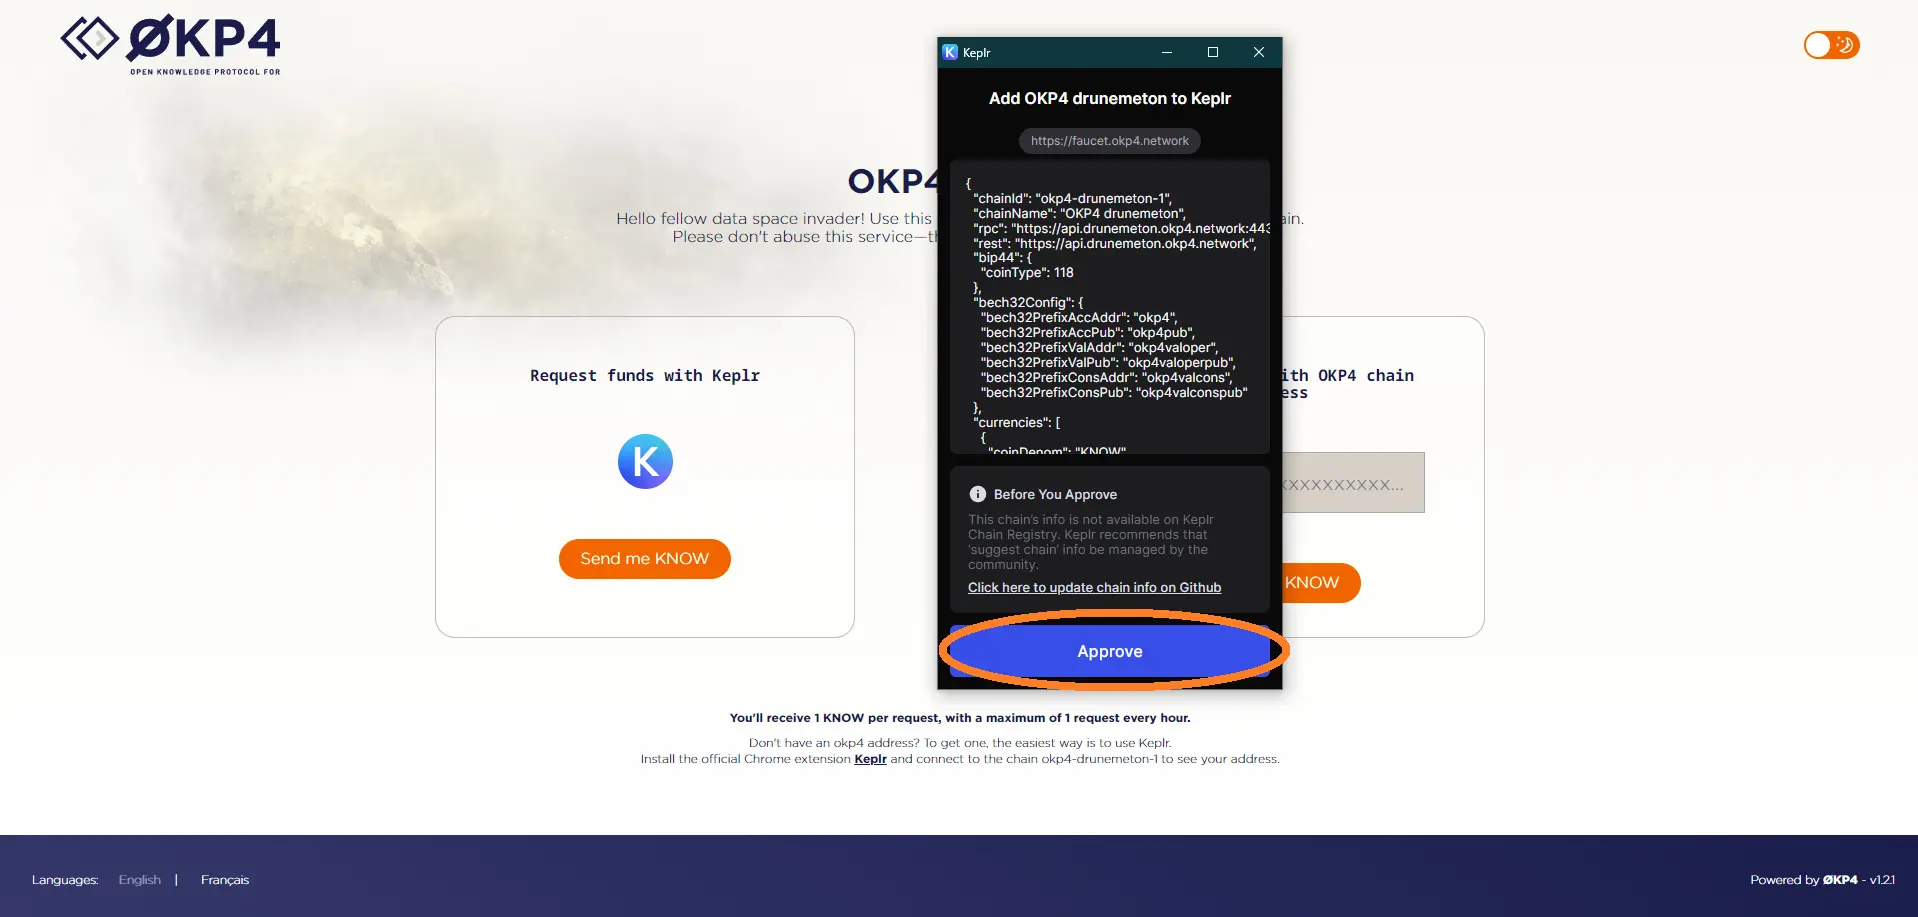
- And you're done! Congrats, you received $AXONE tokens 🥳
Check your $AXONE balance and get your Axone address
- To see your $AXONE balance, you have to make the
OKP4-drunemeton-1network visible within the extension:
- Click on the Keplr extension.
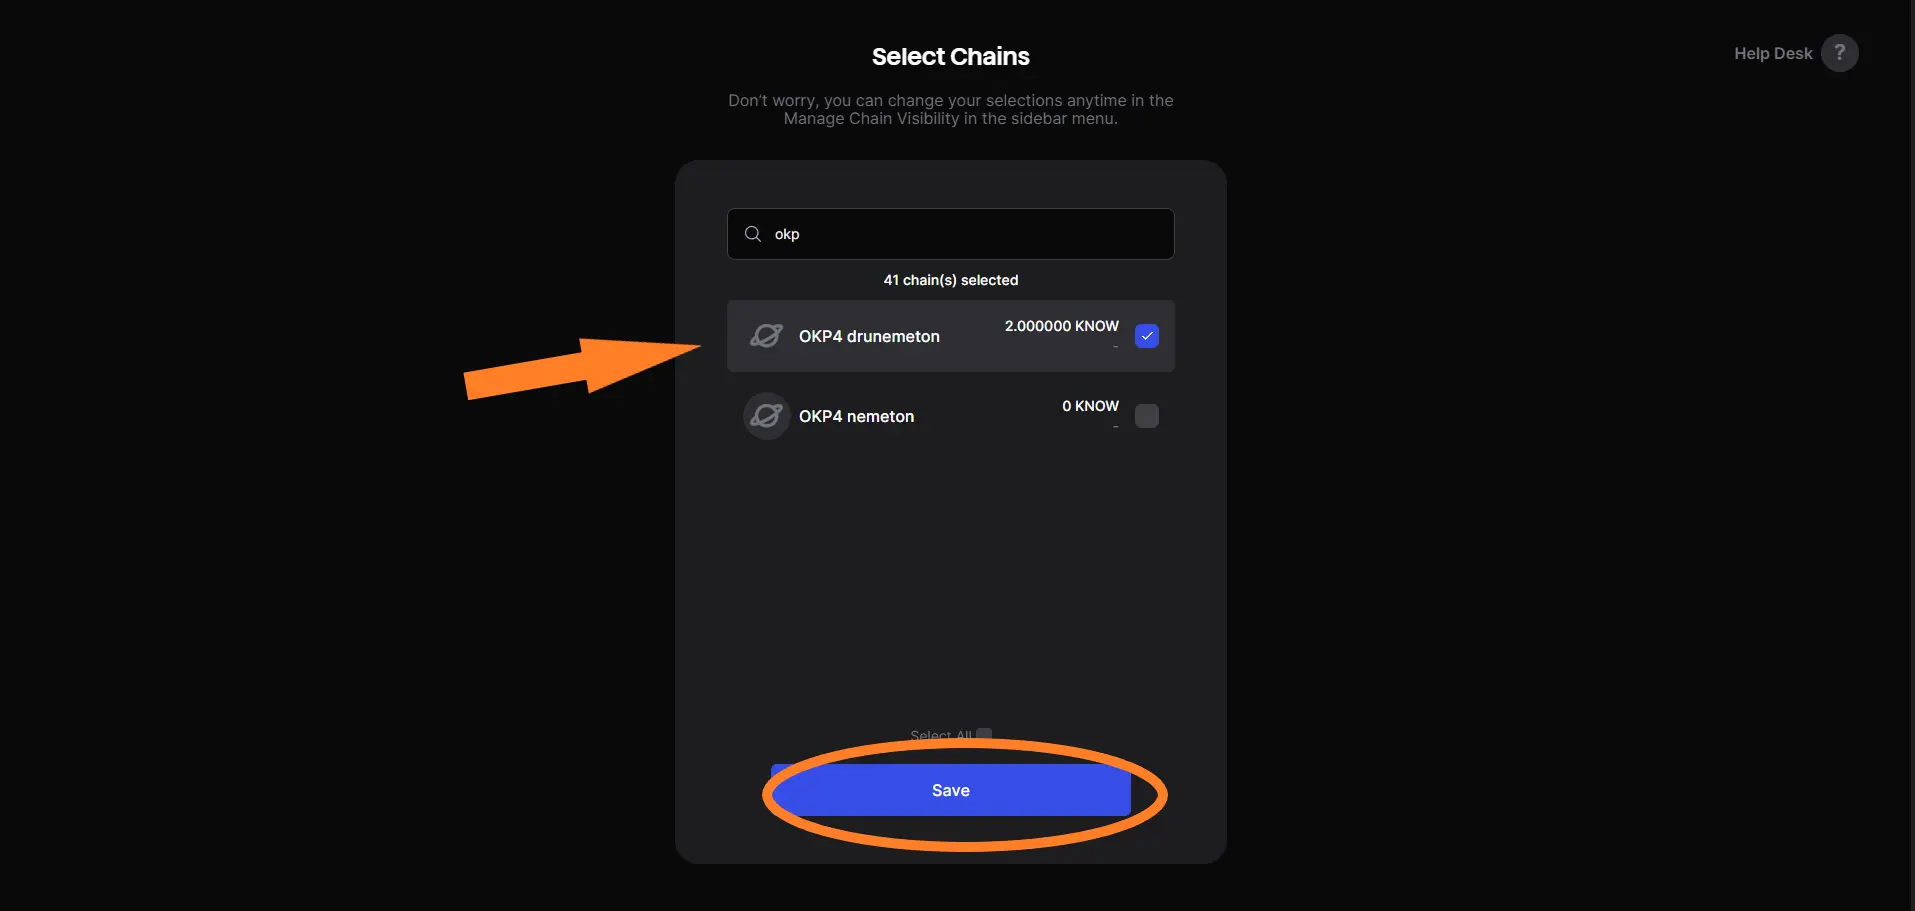
- Click the ≡ button upper on the left, then click "Manage Chain Visibility".
- Type "OKP4",
- Click on
Axone drunemeton, and then click on "Save".
- Let's check you received the AXON tokens:
- Click on the Keplr extension button
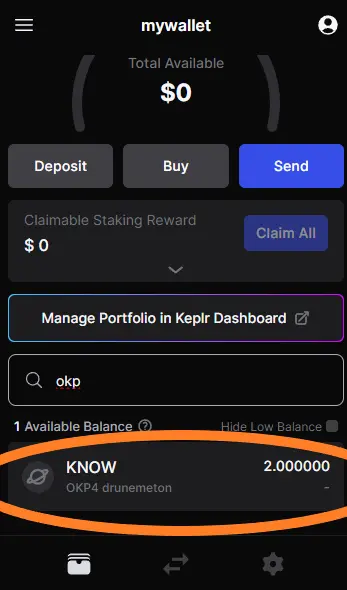
- Look for
Axone drunemetonin the list or type "okp4" in the "Search for asset or chain" field to see it easily.
Alright, there's 1 AXON in the wallet.
- Your wallet is identified by an address derived from your recovery phrase. To receive $AXONE tokens, you should provide your Axone address to the spender. Here's how you can have your Axone address:
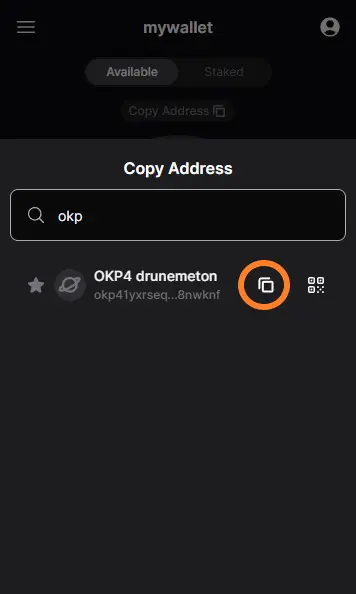
- Click on the Keplr extension icon and "Copy address".
- Look for
Axone drunemetonin the list or type ‘okp4' in the "Search for a chain" field to see it easily. - Click on "Copy" to have the Axone address, which is in the following form:
okp41yxrseqc9weu6cm...9xdf3k5z8nwknf
Send $AXONE tokens to another wallet
Now that you have $AXONE tokens in your Keplr Wallet, you can send them to other Axone accounts. Follow these steps:
- Click on the Keplr extension icon and on "Send".
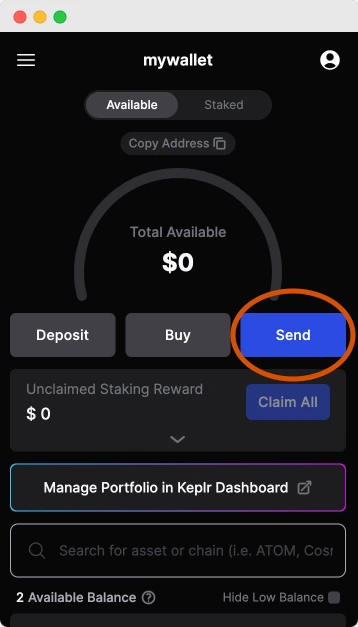
- Select the asset you want to send: AXON. Provide the recipient wallet address, the amount and, optionally, a memo. Click on "Next" and "Approve". You will have to pay a small fee to execute the transaction.

Check your transaction with the explorer
You can look at the Axone explorer to check all transactions you executed. Click the "Search" button (up on the right) and provide your Axone address. The $AXONE payment you've sent will appear in the Transactions part.

Recap'
To get started, you should:
- Set up an account with the Keplr Wallet extension
- Safely store the recovery phrase, the secret way to use your account
- Add the Axone network and get $AXONE tokens via the official faucet
Once you're done, you can interact with the blockchain:
- You can send $AXONE tokens to another wallet using the "Send" button in Keplr, for example.
- You can also checkout the explorer to see the transactions status and more.
Congratulations! You have successfully learned how to set up an Axone account using Keplr Wallet, obtain test tokens, and send transactions.
With this knowledge, you can actively participate in the Axone blockchain ecosystem, explore its features, build new applications and interact with deployed smart contracts. Enjoy your journey into the world of Axone!